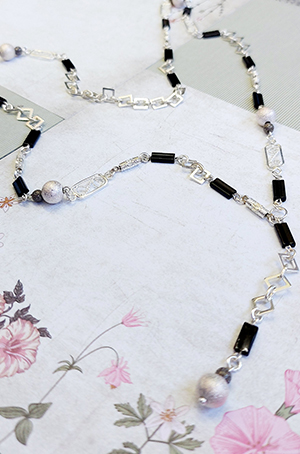
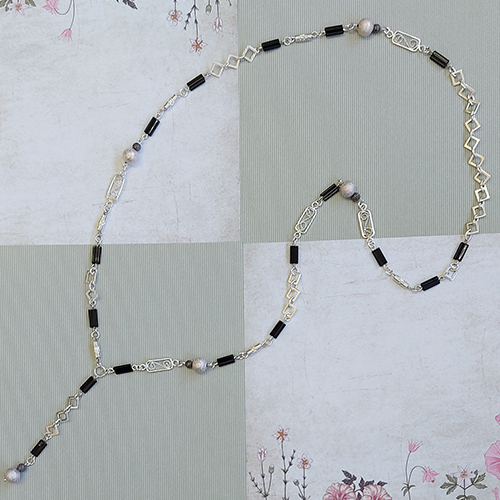
| Miyuki Rectangle Art-Deco Y-Necklace Designed by Damaris Ramenaden |
Shop here for your beads and findings:
| Miyuki Rectangles | Headpins & Eyepins |
| Jumprings | |
| Stardust Beads | Glasses Holders |
| Tibetan Silver Beads | Pliers |
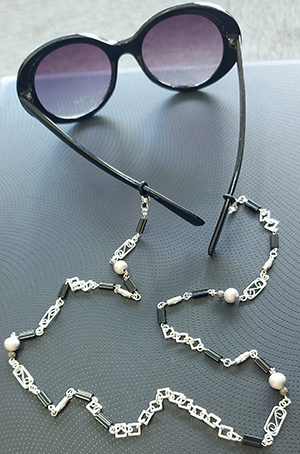
This necklace is easy to make and can be made in one evening. It is also really easy to adapt the pattern into a bracelet or as a glasses or mask chain too.
We used Half-Round Pliers and Round-Nosed Pliers to turn loops in our headpins and eyepins. If you're not sure how to do this, check out our handy video here
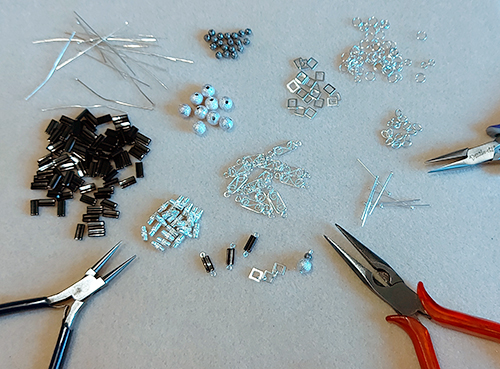
To start, gather all your chosen components onto your bead mat or working area so you can see which ones you want to use. There is no hard and fast pattern for where to place each component, it is up to you and your preferred style. We suggest it is better to start from the 'Y drop and work up both sides of the necklace. That way you can add each bead or component that you feel sits best in your design - you may like to be asymetrical with your use of beads, or have them totally mixed up. |
|
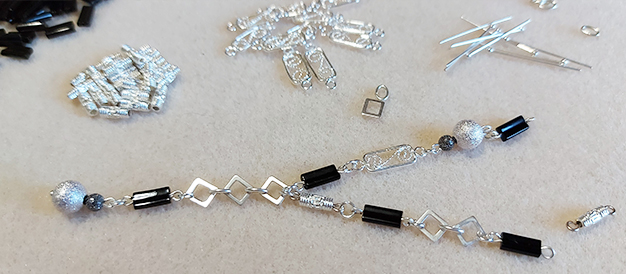
Now you'll work your way up from this drop to make the bottom part of your 'Y'. You may find it easier to create a few bead connectors so they are ready to go as you make your necklace.
Please note, when turning a loop on one of your beaded connectors, take care not to splinter the bead with your pliers - give yourself a little wiggle room to safely bend the wire and not put pressure on the bead.
| Each component is attached to another using 4mm jumprings, with a larger 6mm jumpring being used for the 'Y' connection a sit allows for the necklace to hang more freely. Contine adding beads and connectors up each side of the necklace, checking that you like the design as you go! |
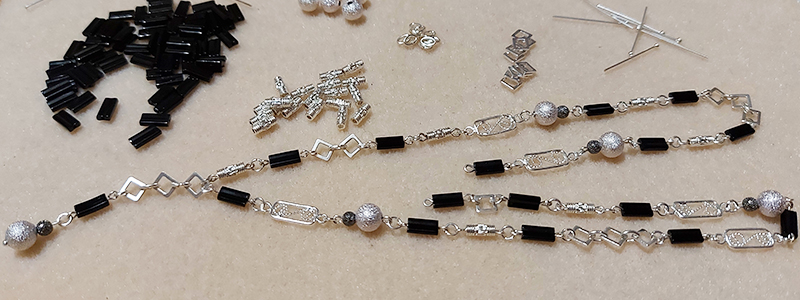
You can choose how long or short to make your necklace and whether or not you want to add a clasp. Our necklace is just long enough to fit comfortably over the head without needing a clasp. |
|
| We decided to just use our rectangle connectors at the back of the necklace as it added further interest to our design. Check all of your connections and jumprings are secure before finishing your necklace. |
If you wish to create a glasses or mask chain instead, simply follow the instructions above, starting at one end and attaching your first component to one of your eye-glasses holder. Again, you can then decide to make a symmetrical chain or a free-form design. This design is a great way to use up any stash beads that fit your project, and for experimenting with design rules to make your own bespoke Miyuki Rectangle and Connector chain! Get creative and have fun playing! |
|

