| Four Reasons Why Your Beading Wire Has Broken |
We have been using beading wire for over 20 years now and have been selling
it for over 15 years. In that time, we have learned a thing or two and hope
this article may help jewellery makers understand beading wire a bit more. A
further article will explain more about the different types of beading wire.
First up though is a word on ‘breaking strain’.
Good quality wire such as Beadalon Beading
Wire has a published breaking strain. The amount depends upon
two factors – its diameter and the number of strands. Achieving greater
strength requires using more strands and/or a larger beading wire thickness.
The quoted breaking strain is then with beads ‘at rest’. However, there are
some exceptions to this rule. For example, if you have a long necklace which
drapes nicely and maybe swings from side to side when moving. This means the
force at the bottom or at the clasp end can exceed the breaking strain. So, as
a rule of thumb, always buy the best wire you can afford. 7 strand beading
wire is good, 19 strand
is better and 49 strand
is the best. It is also worth buying the largest diameter that will comfortably
fit through the hole in your beads.
Let’s take a look at the four reasons why beading wire can
break.
1.
Beads are strung too
tightly
People hate to see any exposed wire, so push the beads up as
hard as they can before finishing the end. The result is a very stiff necklace
that does not want to drape nicely and wants to stay rigid. When hanging, this
results in the wire stretching to the point of breakage – the beads have
nowhere to move. Remember the breaking strain of the wire is at rest. However,
when you have a tightly strung piece, the length of the wire acts like a lever
and the breaking point is easily exceeded. This normally happens at the end or
middle of the wire. On inspection, you can normally see little creases at the
edges of each bead.
So, how do we avoid this happening? The easiest way is to before crimping the
end. Start by laying out the necklace in its intended shape. For example, with
the wire at its longest and most stretched – before crimping. Once crimped, if
you then lift the necklace and let the beads fall to one end, you will have a
small gap of wire at the top. If you know how to lift the loose end into the
normal necklace shape, you will see the beads all move upwards filling the gap.
If you hold your fingers against the beads before lifting, you will feel the
force exerted on your fingers. There is another way to overcome this situation
if you really do want to hide all of the wire and that is to use ‘Bead Bumpers’. These are very tiny doughnut-shaped silicon
rings. You thread these between each bead – they look a little like knots on a
knotted pearl necklace. However, being silicon, they will compress so you can
fill your tigertail beading wire to the end. This helps you know that when
hung, the necklace stretching will just compress the bead bumpers.
|
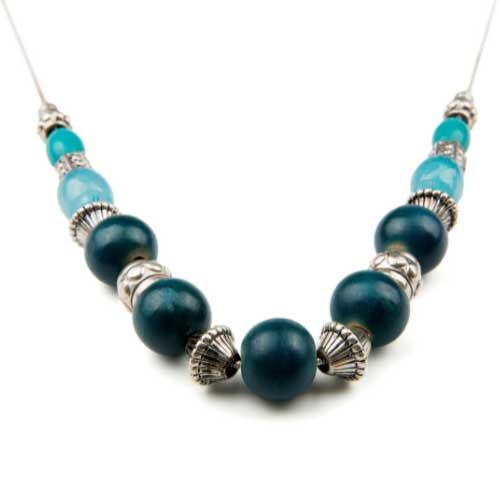
2. Designs that have square edged beads next
to each other
Put two such beads
together on a necklace and they want to sit square, not follow the curve of the
necklace. Consequently, such designs will put a lot of strain on the tigertail beading
wire. The beads are trying to leverage each other apart - eventually causing it
to fail. To avoid this happening, simply place the small beads between the
square edged beads. This will allow the design to hang better and take the
pressure off the jewellery wire.
|
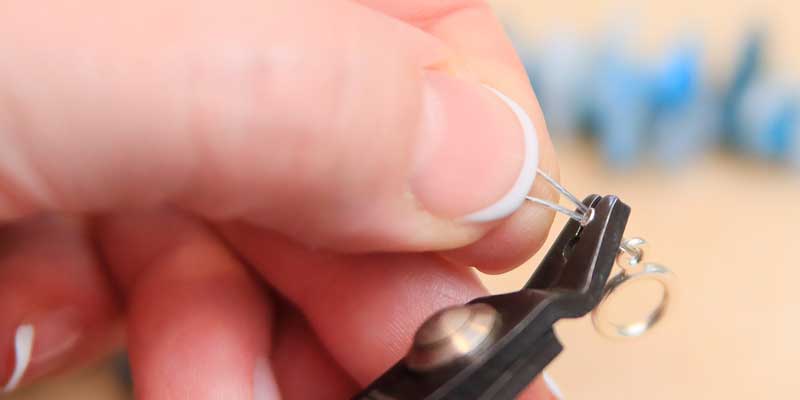
3. Over-Crimping
Many jewellers are
nervous about crimping. It is common that they apply too much
pressure on the crimp, which has two negative effects. The first is that
over-crimping will weaken the crimp itself. The more you squash it, the harder
the metal becomes. If you over-crimp your beading wire it becomes brittle and
will crumble. The second is that you may squash the crimp too much such that
the edges cut through or weaken the wire. This leads to failure where the crimp
is. The solution – make sure you use the right size of crimp to match your tigertail
beading wire. Also make sure that if using a crimp tool, it is the right size for the crimp. Take
your time and squeeze gently but firmly, repeating if you need to. Let the tool
do the work, not your muscles!
|
4. Kinking
A common problem
for jewellery wire is where the beading wire has bent. If the beading wire kinks
too much, the result is that the wires are case-hardened, become brittle and
then snap. The fewer strands of wire, the more likely this is to happen. Think
about trying to straighten a metal coat hanger, the more you try the more
brittle it becomes until it breaks. Compare this to straightening a multi-strand
electrical cable, such as a headphone cable. This is much easier to straighten
out. For this reason, we never recommend using Tigertail (normally only three
strands). Always use a minimum of 7 Strand Beadalon beading wire. For
special or intricate designs, 49 strand is ideal because it is very difficult
to kink.
For more
information about any of the jewellery wire mentioned above, get in
contact with us today.
|
Shop our range of Beading Wire HERE!


