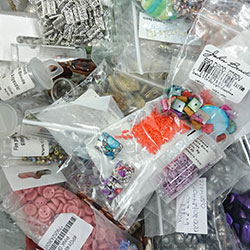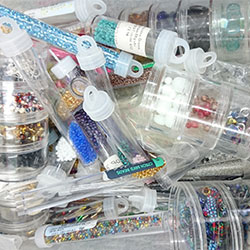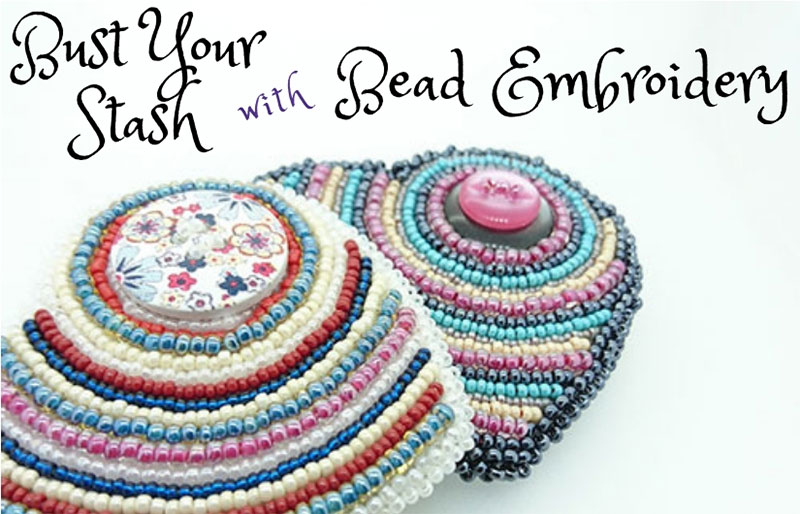
This time round we’re taking some time to look at the beautiful and versatile technique of Bead Embroidery and how it can be used to help make the most of stunning focals, cabochons or artisan beads, or maybe it’s just what you need to bust your stash of left-over or forgotten beads.
If you haven’t come across this technique before, fear not! It’s easy to learn, can easily incorporate any previous beading knowledge and skills you may have and is so adaptable, the only problems you’ll have is deciding what designs you want to create next!
Bead embroidery is as it sounds - a way of stitching beads directly onto fabric to simple or stunning effect. There are a few materials you will for needed for bead embroidery:
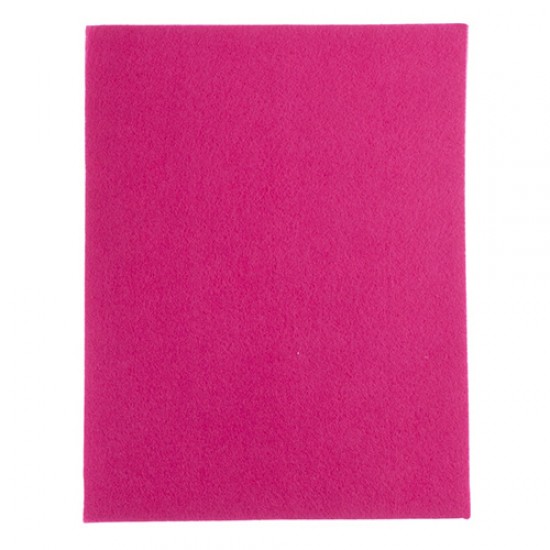
Bead Foundation - The fabric, or foundation as it’s usually known, is what the beads are stitched directly onto. It can be a variety of materials such as stiffened felt, leather, suede, denim etc. If it is strong enough to bead through without pilling, buckling, unravelling or fraying, it’s usually OK to use as your foundation! We supply a stiffened felt called GoodFelt in a range of colours to suit most designs which doesn’t pill or fray with use - shop this here | |
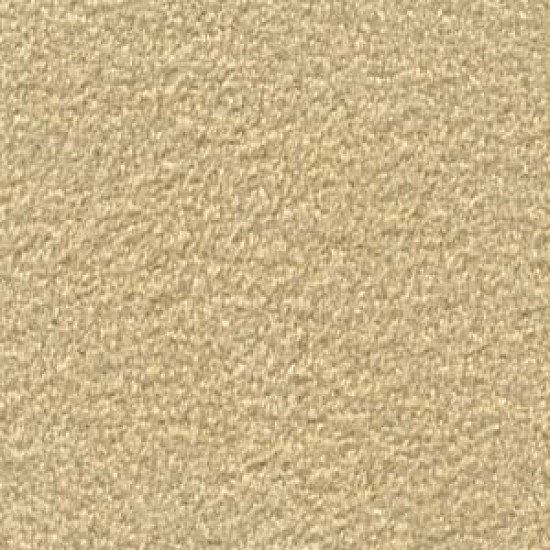
Bead Backing - Once you have finished working on your bead foundation, you’ll notice the back may be quite messy! This is where the bead backing come in. It will not only help you finish off your design neatly and professionally, it will cover and protect your stitches and help your piece to be comfortable when worn. We supply bead backing called Ultrasuede in a variety of colours. It is soft, supple and can be easily stitched through - shop this here | |
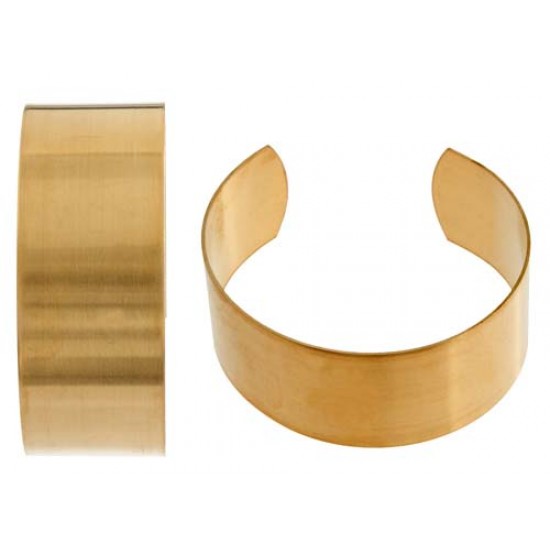
Beadwork Lining - Sometimes, depending on your design shape, you may want to add a layer of something between your bead foundation and bead backing to help keep the shape stiff and distinctive, or to provide a form to wear (such as a bracelet shape). You can use anything to act as a liner, as long as it won’t damage or wear your stitches. We’ve used cardboard from cereal packets, plastic from milk cartons or specific brass blanks in the past, all with great success. We carry a range of cuff blanks that can be used if you want to create a bead embroidered cuff - shop these here | |
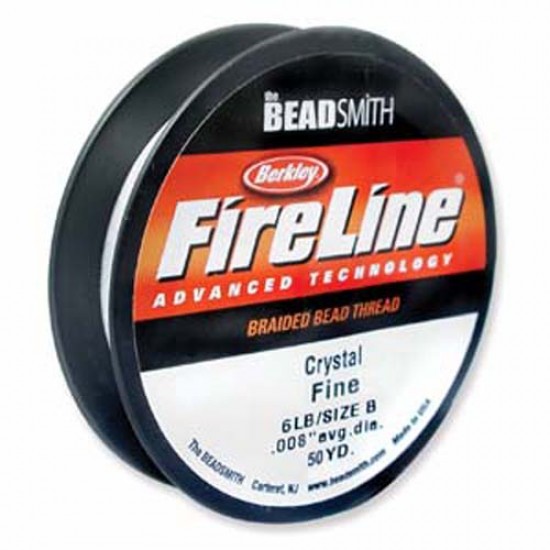
Needles and Threads - We know that everyone has their own favourites when it comes to needles and thread, and the good news is you can probable use them when bead embroidering! As long as your needles and thread are strong enough to bead through your foundation and backing, as well as hold the weight of your beads, then you’re go to go. Also, consider the beads you’ll be using, as crystals and bugles can cut through some threads quite easily and you don’t want to have take apart all your hard work to make a small fix. One final consideration for the thread is to make sure it matches closely to the beads, foundation and backing colours you are using, otherwise the visible thread may fight for attention against your design. We supply a huge variety of needles and threads for all types of bead embroidery and bead weaving - shop needles here and shop threads here |
Well, now we’ve checked out the basic supplies, let’s focus on the more fun stuff - how you go about actually making something!
The great (and some would even argue difficult) thing about bead embroidering is that it is only limited by your imagination (or stock of beads!). Sometimes deciding on what to make can be the hardest part, so we’ve taken on this challenge and are going to walk you through our process for designing and making something - that way you’ll to see this process isn’t always as overwhelming as it might appear to be. So let’s go!

Ah, that age old question that burdens every beader when faced with opportunity and a stash box of beads! We’ve decided to follow the process below, but you can be as fluid or strict with this as suits your artistic temperament.
When starting out, you may already have an item in mind, such as some earrings or a pendant, or you may have beads you want to use but not sure how yet. It doesn’t matter as both factors directly influence each other.
| For us, as you can imagine, working in a bead shop can yield a few left over, odd and discontinued beads here and there, so the best place for us to start is by having a bit of a rummage to see what shouts at us to be used! |
|
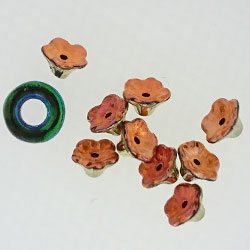
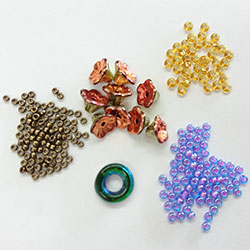
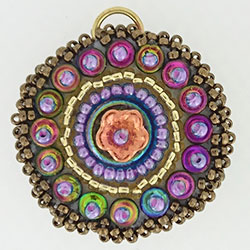
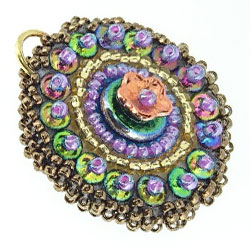
We decided to make a small pendant with this pretty green luster glass ring, with a Jet California Gold Rush Flower Cup bead as the focal, to add some height and texture. We also found some complimentary seed beads to help finish the design. (If you like these focal beads, click on the highlighted words to buy them now!) |
We’ll start by stitching on the main beads first. Check out our video on the 'stop stitch' to see how we did this:
| And we've finished! What do you think? Pretty cool huh?! |
|
|
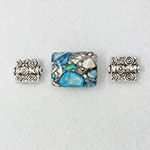
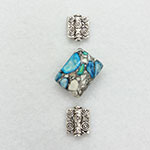
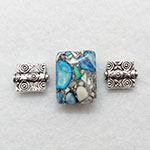
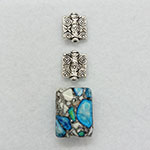
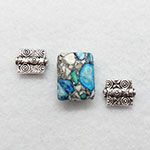
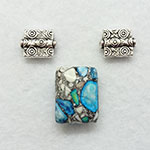
Depending on the beads you gave chosen, you may want to spend some time playing around with the placement, composition and balance of your main beads as that can help you work out what to make (maybe a pendant, focal for a bracelet, component or a brooch) - hmmm too many choices! For example, if we had chosen to work with a mosaic turquoise rectangle bead with pewter circle design beads, there are many combinations to play with:
|
|
|
|
|
|
|
There are a few tips that we thought would be useful to share with you when you begin your own bead embroidery piece:
- It’s easier to cut out your shape from your foundation instead of stitching onto a whole piece, then cutting it out afterwards
- When you cut out your foundation, leave yourself enough perimeter to add your edging onto later
- Remember to match your choice of thread colour as close as you can to your beads and foundation or backing, to avoid it showing too much through your design (unless you like that sort of thing, then that’s cool too!)
- Consider your tension when stitching - too tight and the foundation will buckle, too loose and the beads will ‘hang’ or ‘move’ in your design
- As the stitches underneath won’t be seen, you can ‘jump’ across your work at the back to start filling in a different area. This way you won’t have to finish off your working thread before starting somewhere different. Be aware of your tension though, make sure your design is as flat as possible for the first few stitches in the new place, to avoid the design being distorted. Likewise, if the ‘jump’ is quite big, you can either weave your working thread under the stitches at the back to help avoid distortion, or if you prefer, you can finish off your thread and start afresh somewhere else
- When you stitch your beads down, hold them in place before pushing your needle through the foundation; that way they will fit snug and neatly. Also remember not to overfill the gaps, or the beads won’t lie straight
- When you push your needle through the foundation, make sure it is vertical, otherwise if it goes in at an angle it may distort the shape of your bead line, or make your beads fit too close together or too far apart
- If your rows are a little wonky, or the beads you have used are quite heavy, reinforce the thread path to help them straighten out. This is also useful if you have used beads that can cut the thread, such as bugles or crystals
- When you come to adding a lining, make sure it is smaller than the front and back, so you don’t try and stitch through it when working your edge. You may find it useful to glue it in place before working on the back
- When cutting out your backing, hold your foundation and lining flat on the backing and use it as template before cutting it out, just in case your stitched design has become slightly bigger or smaller than your original template
- When you come to stitching your edge, think about if you need any findings in place before starting to sandwich it all together - you don’t want to finish a brooch or pendant then find you forgot the jumpring or the brooch bar!
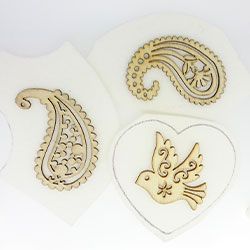
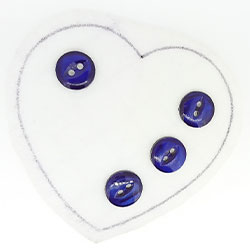
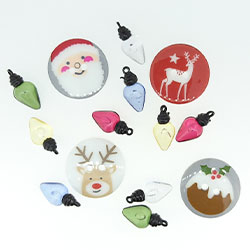
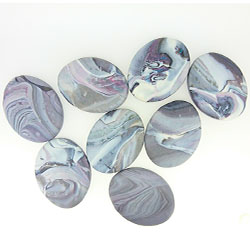
- And one final thing to remember - if you can stitch it you can use it! You don't have to keep to just beads for bead embroidery, check out some of these ideas below:
|
|
|
|
|
| We found these pretty die-cut wooden shapes in a local craft shop that would be fantastic to bead around | These gorgeous blue buttons act as the main feature on this heart shape | One of our team found these festive buttons and 'light bulbs' that just scream out to be made into Christmassy earrings! | A collection of lovely heart buttons with vintage style bird prints would lend themselves perfectly for bead embroidery (I think we have a thing for hearts!) | These beautiful polymer clay cabochons made by one of our team are waiting to be made into a statement necklace |
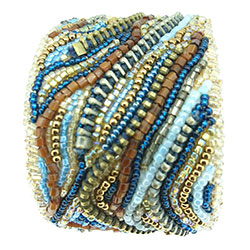
This cuff used some old zips in its design! Can you spot them? |
|
|
Have we whetted your appetite and now you can't wait to get started with Bead Embroidery?
- For all your supplies you can shop the range here
- Looking for something but can't find it? Let us know here
We love to see your pictures and read your comments - get sharing with us below!
Come and see us in our New Forest bead shop in New Milton in Hampshire or online at cjbeaders.com

